Monday, January 6, 2014

Wonderful Shadowbox

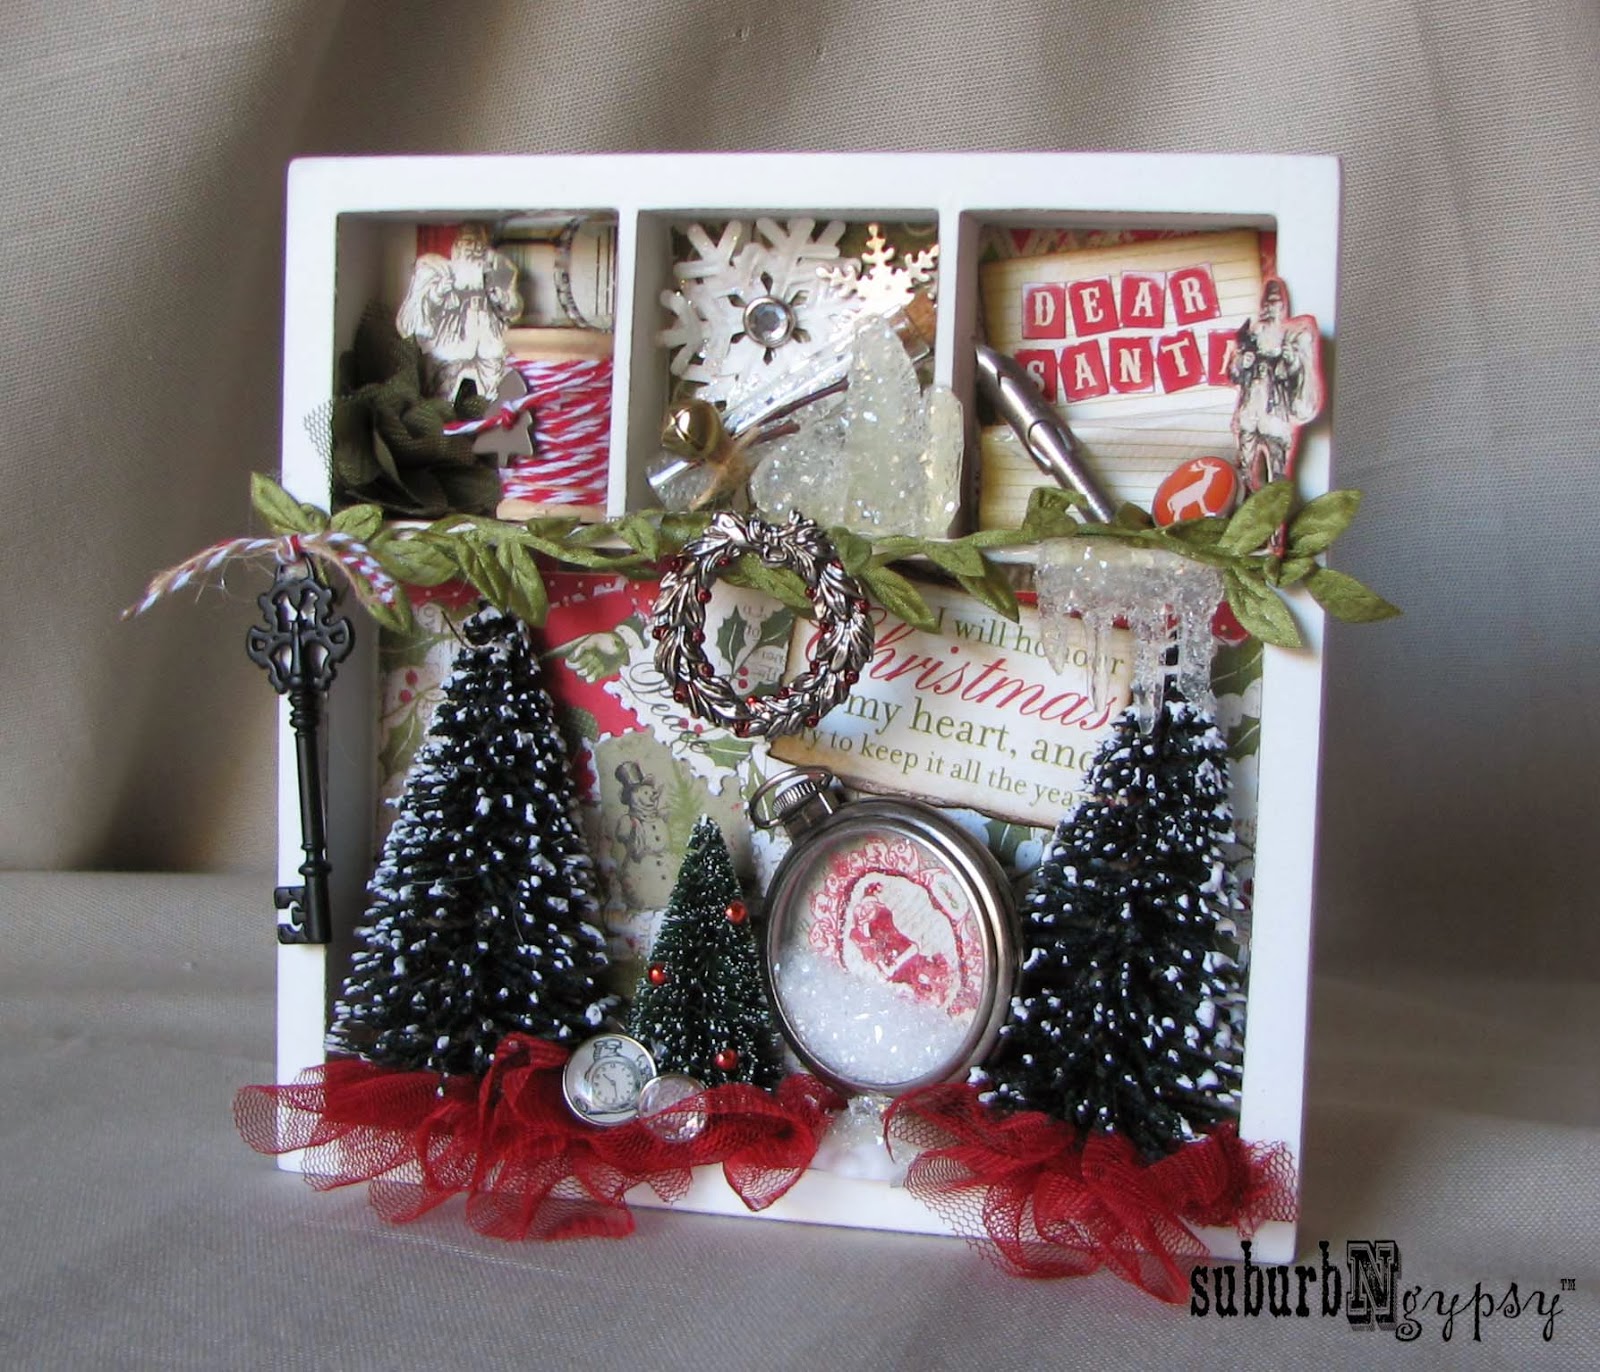
Xmas always makes me nostalgic, and as the old year fades I feels like looking backward and remembering our family traditions, and Xmases past. Shadowboxes are a wonderful way to spotlight your treasures for yourself, or to collect together important bits of this and that for others.


Keys, pen nibs, notes to Santa, a jingle bell, a vintage watch, Xmas snow. All ingredients for Xmas memories. Don’t be afraid to stuff the cubbies of your shadow box. The backs of these cubbies have all been covered with papers, then layered with more bits of paper or stickers before the actual trinkets were put in.

Trees, a snow drift and icicles complete the look of a wonderful Xmas.

 
The Santa was cut from a larger piece of scrapbook paper and adhered to the outer edge of the cubby for extra dimension.


Happy Holidays Gypsies! Take some time to create a Xmas keepsake to have for next year. Because it will be here before you know it! 

~ Materials ~
Shadowbox by 7Gypsies
Bits of this and that by Tim Holtz
Papers by Authentique Paper
Trees from Michael's

Wednesday, January 1, 2014

Life around the studio

So I have a big life and a small house. Also a family, two cats, a rabbit and two Saint Bernards. (Now go back and reread that last bit because I really do have two Saint Bernards). Which means that space is always a premium and creative storage is a must.

This is my studio - aka where the magic happens. Technically it's the corner between the living room and family room that's been stacked with plastic bins and a desk made from two file cabinets and some plywood. My craft table is a very cool, vintage kitchen table that has fold-down wings.

It takes some ingenuity to fit all of my craft supplies in this space. Actually there's a lot of chaos that has been cropped out of the shot for today. When company comes over I typically shove as much as possible under the desk and then tuck the chair up to cover it. By folding down the wings of the table and turning it against the wall o' supplies, I can pretend that the corner is tidy. Delusion is essential to working in the corner.

Working in the main part of the house also means I get a lot of help. This is Daisy, hanging out while I climb a chair to take this pic to share with the design team at Authentique Paper. Daisy wanted to make sure I had something (someone) to fall over when I was done shooting. Her favorite position was actually right up against any chair I sat in, making it impossible to leap to me feet and run for coffee at a moment's notice.

Photographing projects can be a challenge too. Before I bought fancy lighting, I used the natural light in a couple of strategic locations around the house. Early mornings, I would shoot in the dining area on top of the sideboard. Pumpkin decided I didn't have enough stress just meeting the deadline, I needed the stress of him helping me redrape the drapery. Note the drape is truly that - it's the curtain panel from the window to the left, where the natural light is coming from.

I try to shoot outside in the backyard as much as possible for true natural light and more space to work. However, the backyard has its challenges too.


Working in such a small space means a certain amount of sprawl is inevitable. Here both Pumpkin and Loki decide to help me out by sprawling for me.

2014 is going to be the "Year of the Reorg" for me. The family room is getting finished off with cabinets, bookcases, and a real desk for me. Which means lots of organizing and purging of extra supplies - I actually get a little turn-on by organizing and getting rid of old stuff aka brilliant ideas I never brought to life.

So stay tuned as the studio gets a facelift, and my studio assistants Sparkles and Pumpkin (aka Kitties of Destruction) and Loki and Thor (aka Pups of Doom) continue to support me the best way they know how. By lying around, nibbling edges and shaking drooly faces right over my fresh new project.

Life is grand.

Monday, December 30, 2013

Merry and Bright

Hello Gypsies and Merry Xmas!
Now that Xmas Day is done it's time for the crazy Day-after Xmas shopping. But in between bargain hunts, take some time to create a keepsake or two for this season. This is one of my favorite seasonal projects, featuring one of my favorite subjects – my little gal. 
This is a 12x12 canvas with a base cover of olive green paint – note that I didn’t paint all the way to the edges, but left an uneven border all the way around.

Next I layered strips of paper – don’t forget to tear and shred those edges for extra grunge!
The letters are made using Tim Holtz Grunge Letters. I like to mismatch the letters to the backing so some letters hang off the edges of the backing and nothing is perfect. 
  The backing is painted with chunky paint – I used a sponge brush to get extra chunkiness - the letters are painted olive green and dappled with gold Stickles. I used my “finger-tool” for the Stickle application. 

The Xmas tree is made from paper curls. I love curling paper and it’s such a quick and easy way to create dimension in a piece. The heavier papers work best for this one. Cut strips of paper and use the edge of a scissor blade – like you curl ribbon. Gentle pressure while pulling the blade over the paper and voila! Paper curl!
I built the paper doll using basic shapes and a mix of papers. The collar, hat and mitten trim is actually net ribbon scrunched and shaped to fit. Brads decorate the hat. And the arms and legs are accordion-folded, and only tacked down on the ends for movement and bounciness.
For the photo, I printed a pic on canvas – the canvas adds another texture and is more interesting that plain old paper – then cut to fit. Go for a headshot that is slightly larger than the paper doll for a more whimsical look.
This is a great gift for the holidays, or a sweet way to celebrate a birthday – change the color scheme and voila! Instant birthday celebration canvas. I added random buttons and brads but you could also add personal keepsakes or tiny pics too.
Thanks for stopping by the caravan today. Be sure to come back for more fun, and don’t forget to have a very Happy New Year!
~ Materials ~
12x12 canvas
Paper and brads by Theresa Collins
Grunge Blocks by Tim Holtz

Thursday, December 26, 2013

Where the heck have I been!?


Hello Gypsies!

It’s been forever since I’ve been able to spend time crafting and blogging. The challenges of real life, real job, and real-world commitments became pretty darn overwhelming this past year. But I’ve made a pledge to put myself first a little more for the new year, and I’m starting here with my blog.

Way more than a year ago I made my very first video tutorial – Paper Chain Mania! It was a blast to make and lots of  fun to watch, so I’ve dusted it off for the blog today. Hi to my peeps at Authentique Paper, who featured this video as part of their Xmas in July blog last year.


Some people were curious about how I shot the video. Here’s my high-tech video studio. Note the iTouch perched on a stick – very sophisticated!


The papers I used in this video are Xmas colors, but you can easily substitute gold and silver for some festive New Year’s Eve decorations. Paper chains are a great substitute for streamers at birthday parties and can make quick garlands to dress up a simple get-together.

Check out the video for all the steps, then grab some paper strips, your stapler and maybe a little champagne and get yourself chained up!


Friday, March 15, 2013

'Grace'ful Daisy


In November, we lost our beloved Saint Bernard, Daisy, to stomach cancer. Many of you may recognize Daisy - she has been featured in some projects here for Authentique Paper.
And she frequently tried to art direct me while making them.
When it came time to set her free, the staff at the hospital made a cast of her paw. I've wanted to do something with it, to create some way to remember my special girl. I finally was ready this month, and I chose Authentique's new "Grace" line.
Daisy was not graceful by any means. But her personality was sunny and warm and lovely. 
I love the color combinations in this collection. Lots of pinks and greens and an awesome carmel - or Saint Bernard - brown. Look closely and you'll see the edges of the papers are all torn and inked to enhance the distressed look of the paper - the paper has a great weight to it that stands up to all kinds of tearing, sanding and inking.

Look even closer, and you'll see the letter "D" is covered with a piece of "Grace". Creating your own coordinating chipboard letters is an easy trick! - See my step-by-step below.
Our girl's pawprint sits nicely along with my favorite photo of her. Paper grass edging reminds me of her love of a good roll on the lawn. The tattered rose reminds me of how she would always insist on laying under "her" rose bush, regardless of thorns. The daisies remind me of her sunny, spunky personality, and her weird habit of smelling flowers in the garden!

In January we adopted Loki, a two year old Saint Bernard. He's fitting in quite nicely and is already trying to "help" me in my crafting corner. I'm sure he'll be featured on something very soon. 
In the meantime, I thought I'd share how to make your own coordinating chipboard letters so you can enjoy customizing your projects and layouts, and find a great way to use up those odds and ends!
~
Custom Letters in 4 Easy Steps!

I have tons of chipboard letters for paper collections that have been completely used up. So I started turning them into matchable letters to go along with whatever papers I'm using.

It's so easy, are you ready?

Step 1 - Assemble your papers, letters, Glue N Seal, and Xacto knife.


Step 2 - Apply a thin coat of Glue N Seal to the front of each letter and set onto your paper. Remember that the letter's "front" needs to go face-down so you get the paper you want on the front of the letter.

Step 3 - Cut out the letters. I use scissors to do most of the cutting, then use the Xacto knife for the intricate cutting. Don't worry if it's not perfect, because...

Step 4 - Sand the edges of the letters. I use a sanding block, and also an emory board for the tighter spots. 

And there you go! 'Grace'ful letters to go along with the whole collection.

~ Materials Used ~
"Grace" collection from Authentique Paper
"Spun Sugar" and "Victorian Velvet" Distress Inks - Ranger
Glue N Seal - Inkssentials

Tuesday, February 19, 2013

Heavy Metal Easter - Tutorial


I got a ping from my colleague May Flaum asking if I would contribute to this week's Simon Says Stamp and Show Challenge. I thought for about 2 seconds before yelling "YES". So this week I am appearing on the blog's Metal-ology Challenge.

And that's not all! Submit your own answer to the Metal Challenge and you could win a $50 voucher to Simon Says Stamp. So let's get metalized!


Paper is turned to metal, and metal is turned to paper is this fabulous Easter piece. Just the size for a card for that special Easter someone, or to sit on the shelf for Easter brunch. The panels are each 2.5"x3" embossed metal that has been painted, sanded and inked to look like Victorian wallpaper.


I first embossed metal sheets by using my Big Kick and an embossing folder from Tim Holtz’s Alterations. Next I covered them with a light coat of white acrylic and set aside to dry.Once the paint was dry I did a little scuffing and sanding to expose a little of the metal. 


Then I used Walnut Stain and Tumbled Glass Distress Inks to tint the panels. I worked lightly, doing the Walnut first and letting it set for several minutes. Then I pressed the Tumbled Glass ink pad directly onto the panels to add the blue tint, and smeared a bit with my finger tips for a more worn look.


Glass Glitter is chunky and comes in beautiful vintage colors. Just the thing to fill a special bottle of Easter joy.


This little chocolate bunny is made from a bit of "Hope" from Authentique Papers. The bunn is edged in Walnut Stain Distress Ink and coated in Crystal Fine Glitter. Some vintage tinsel for his bow and he's good enough to eat!


I used lots of different things to link the panels - paper clips, jump rings, paper hinges and twine. Why use the same thing on every hinge? Mixing it up adds lots of interest.


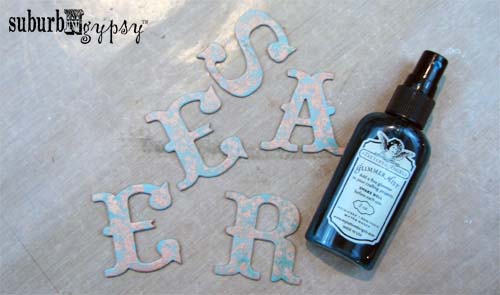
These metal letters are actually painted chipboard! I love this look of copper patina, and worked out this very simple technique to transform any chipboard or heavy paper into “copper”.


First I dabbed chipboard letters with my copper Acrylic Paint Dabber, being sure to leave chipboard exposed. It’s really important to leave some areas clear of the paint because….


After the paint dried I spritzed the letters with Turquoise Blue Glimmer Mist. All of the unpainted areas now turned blue-green, like the copper patina. The blue-green color also layers over the copper, dulling it just a touch to antique it.

Are you inspired now??? You better be! Now get your art on, and when you've got something fabulously metallic to share, submit it on the Simon Says Stamp and Show Challenge. The Simon Says Stamp Superstore is giving away a $50 voucher to one luck random participant. So what are you waiting for?!

Oh and before you go, don't forget your supplies

Tim Holtz Damask & Regal Flourishes Texture Fades Embossing Folders - SizzixTumbled Glass and Walnut Stain Distress Inks - Ranger
Copper Acrylic Paint Dabber - Ranger
Turquoise Blue Glimmer Mist - Tattered Angels
Hope Collection - Authentique Paper
Glass Glitter - Melissa Frances
Crystal Fine Glitter - Martha Stewart Crafts
Mini Paper Clips, Jump Rings, Foliage, Game Spinners - Idea-ology by Tim Holtz